
The Ultimate Guide to Installing Tile Floors: Transforming Your Space with Style and Durability
Installing tile floors is an excellent way to enhance the beauty, value, and functionality of your home. Tile flooring offers a wide range of options in terms of style, color, and texture, making it a popular choice for homeowners looking to upgrade their living spaces. In this comprehensive guide, we’ll walk you through the process of installing tile floors, from choosing the right tiles to achieving a flawless finish.
Types of Tiles for Flooring
When selecting tiles for your flooring project, it’s essential to understand the different types available and their characteristics:
Ceramic Tiles
Ceramic tiles are a popular choice for their affordability, durability, and ease 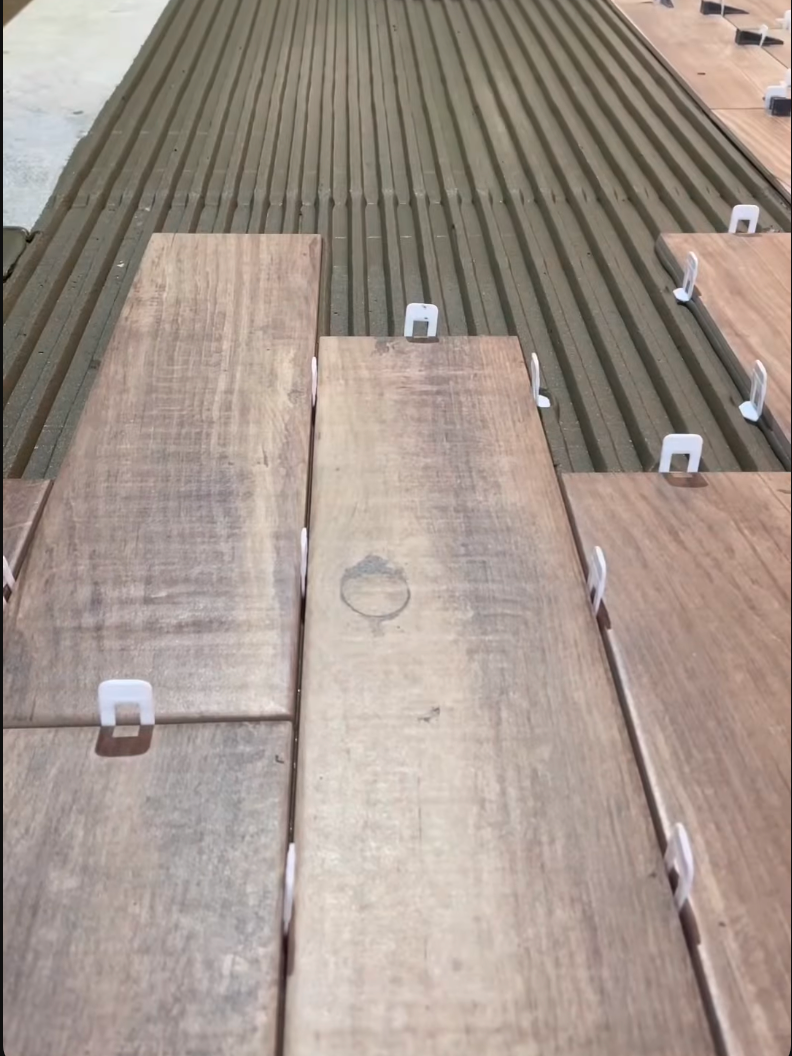 of maintenance. They come in a variety of colors, patterns, and finishes, making them suitable for any design style.
Porcelain Tiles
Porcelain tiles are denser and more durable than ceramic tiles, making them ideal for high-traffic areas and outdoor spaces. They are also highly resistant to moisture, stains, and scratches.
Marble Tiles
Marble tiles offer a luxurious and elegant look, with unique veining patterns and a smooth, polished surface. However, they require more maintenance and can be prone to etching and staining.
Cutting Tiles for a Perfect Fit
To ensure a precise and professional installation, you may need to cut tiles to fit around obstacles or create custom patterns. Here are some common tools and techniques for cutting tiles:
Tile Cutter
A tile cutter is a manual tool that scores and snaps tiles along a straight line. It’s suitable for making simple, straight cuts on ceramic and porcelain tiles.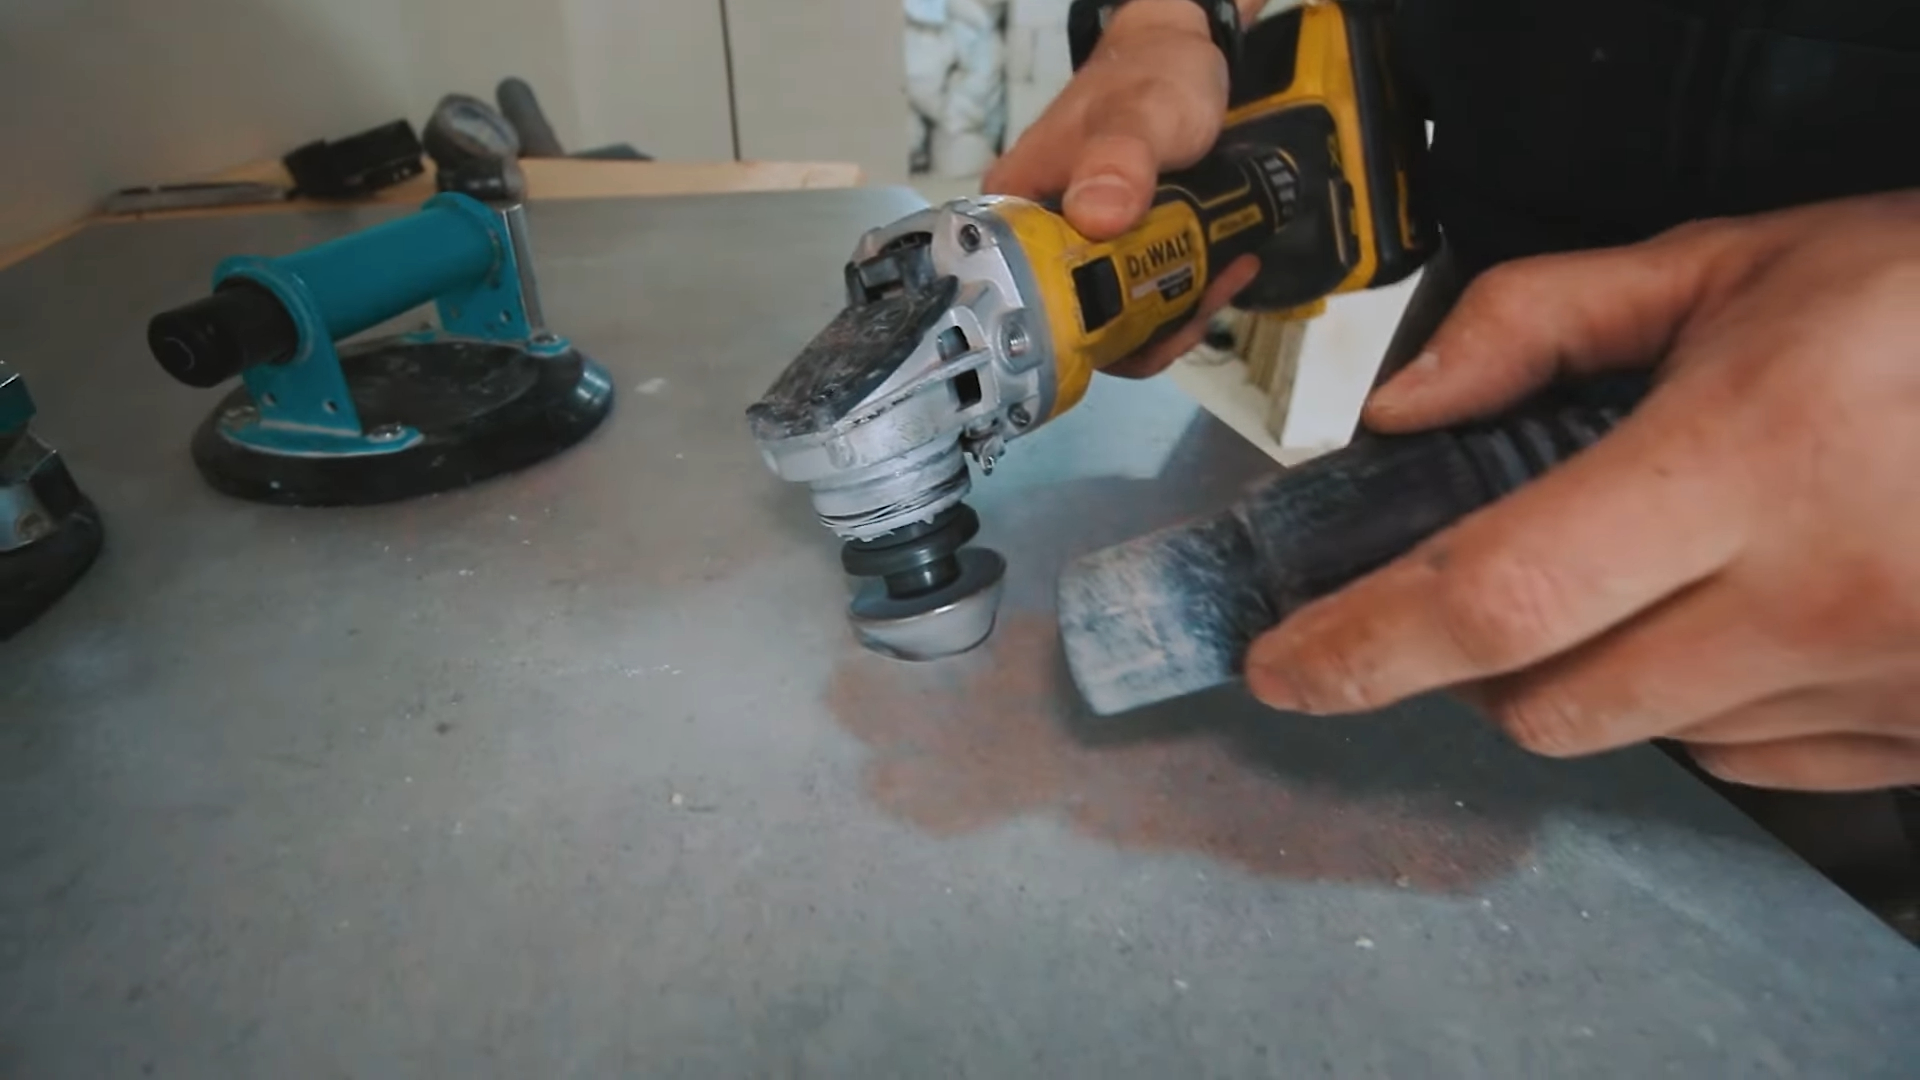
Wet Saw
A wet saw is an electric tool that uses a diamond-tipped blade to cut through tiles while keeping them cool with water. It’s ideal for making complex cuts, such as curves or angles, on harder materials like porcelain and marble.
Tile Nippers
Tile nippers are handheld tools that allow you to make small, intricate cuts or shape tiles to fit around obstacles like pipes or outlets.
Preparing the Floor Surface
Before installing your tile floor, it’s crucial to properly prepare the surface to ensure a stable, level, and long-lasting installation. The preparation process varies depending on the type of surface you’re working with:
Concrete Floors
For concrete floors, start by cleaning the surface thoroughly and repairing any cracks or damage. If necessary, level the floor using a self-leveling compound and allow it to dry completely before proceeding with the installation.
Wood Subfloors
When installing tiles over a wood subfloor, ensure that the surface is structurally sound, clean, and free of any debris. Apply a cement backer board or an uncoupling membrane to provide a stable, moisture-resistant base for your tiles.
Existing Tile Floors
If you’re installing new tiles over an existing tile floor, check that the old tiles are securely attached and level. Clean the surface thoroughly and apply a bonding agent or self-leveling compound if necessary to create an even surface.
Calculating the Number of Tiles Needed
To determine the number of tiles required for your flooring project, follow these steps:
Measure the length and width of the room in feet.
Multiply the length by the width to calculate the total square footage of the area.
Add 10% to the total square footage to account for cuts, waste, and extra tiles for future repairs.
Divide the adjusted square footage by the square footage of a single tile (found on the tile box or product specifications).
Round up the result to the nearest whole number to determine the total number of tiles needed.
Step-by-Step Tile Floor Installation
Now that you’ve prepared the surface and gathered your materials, it’s time to start installing your tile floor:
Begin by finding the center of the room and marking a chalk line in both directions to create a grid.
Apply a thin layer of tile adhesive to the floor using a notched trowel, working in small sections to prevent the adhesive from drying out.
Place the tiles along the chalk lines, using spacers to maintain consistent gaps between each tile.
You can cut tiles as needed to fit around edges, corners, or obstacles using your chosen cutting method.
Allow the adhesive to dry according to the manufacturer’s instructions.
Mix and apply grout between the tiles using a rubber float, ensuring that all joints are filled evenly.
Clean any excess grout from the tile surface with a damp sponge and allow the grout to dry completely.
Apply a sealer to the grout lines to protect them from stains and moisture.
Installing a tile floor can be a challenging and time-consuming project. If you’re unsure about your ability to complete the installation successfully, consider hiring a professional tile installation service. At Tilers 4 You, we offer expert tile floor installation services to help you achieve the beautiful, long-lasting results you desire.
Conclusion
Installing a tile floor is a rewarding home improvement project that can transform the look and feel of your space. By understanding the different types of tiles, mastering cutting techniques, properly preparing your surface, and following the step-by-step installation process, you can achieve a stunning and durable tile floor that will stand the test of time.
If you found this guide helpful, or if you have any additional tips or experiences to share, please leave a comment below. Happy tiling!